Installing the Retail Platform Software
Windows
For instructions on how to install the Retail Platform Software for Windows (RPSW), refer to Chapter 2, “RPSW Installation” in the NCR Retail Platform Software for Windows User Guide (B005–0000–1634).
Linux
Before you install the Retail Platform Software for Linux (RPSL), make sure to provide the following requirements:
•Root permissions
•NCR RealPOS (SUSE Linux Enterprise for Point of Service 11 SP1) Run Time Image 01.00.00.00 or greater (kernel 2.6.32.12–0.7)
•Sun JVM 1.4.2_03–b02 or greater
•70 MB of free disk space (Full Install)
Graphical User Interface Mode
1.Open a terminal.
2.Create a new directory by entering the command:
mkdir <destination directory>
Note: The RPSL is installed at the destination directory. In this example, the directory is named /mnt/iso.
3.Extract the downloaded installer to the new directory by entering the command:
mount –o –loop –t iso9660 D370–0699–0100_REL.2.1.5.6.iso <destination directory>
Note: In this example, D370–0699–0100_REL 2.1.5.6 is the downloaded version. Other versions might be available.
4.Enter cd <destination directory>.

5.Enter the command:
<java directory>/java –jar <path to package>/RPSL–2.1.5.jar –awt
Note: In this example, RPSL–2.1.5.jar is the downloaded version. Other versions might be available.
Note: In the <java directory>, specify the directory path of the java binary. Only include this parameter if $JAVA_HOME is not set.
Note: In the <path to package>, specify the directory path of the installer package that you downloaded from the NCR website.

The Welcome Screen displays.
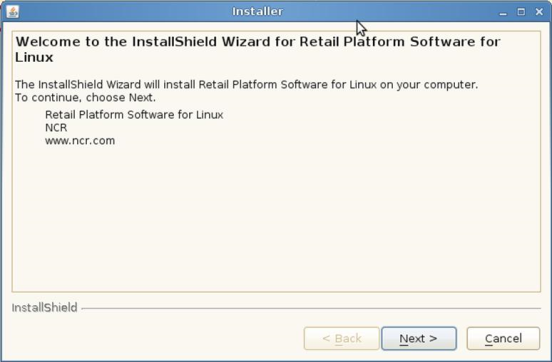
6.Select Next.
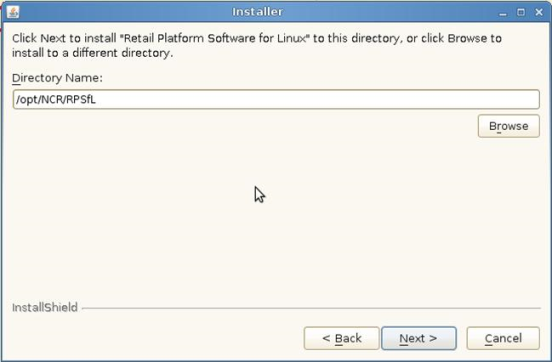
7.Specify the directory where you want to install the RPSL. The default directory is /opt/NCR/RPSfL. To locate another destination directory, select Browse.
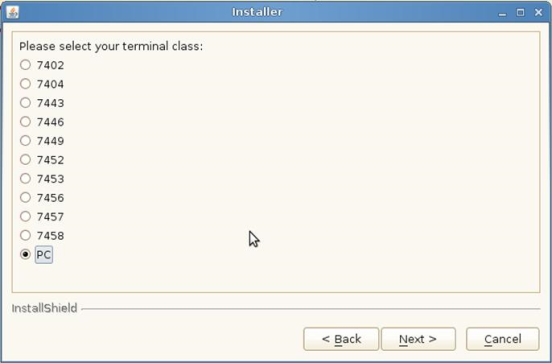
8.Select the terminal class where your 5977 display is connected.
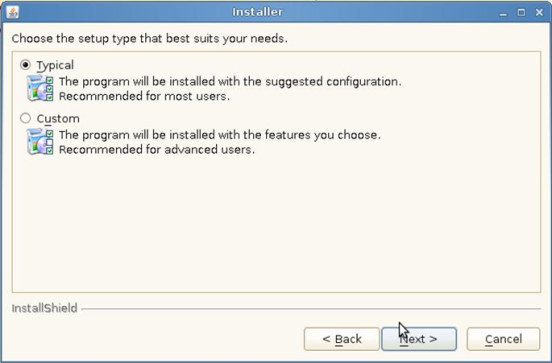
9.At the Setup Type window, select the installation type that you prefer.
10.Select Next.
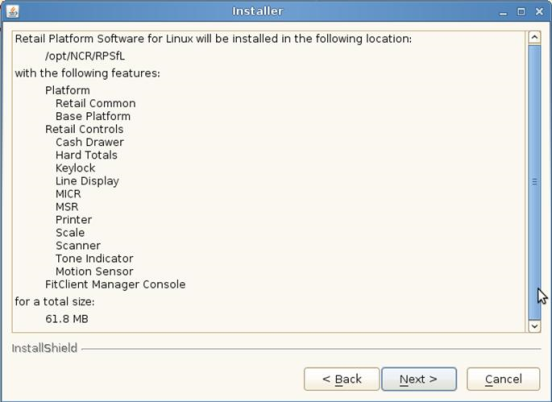
11.The application displays your installation details for you to confirm. If you want to change some options, select Back.
12.After verifying information, select Next.
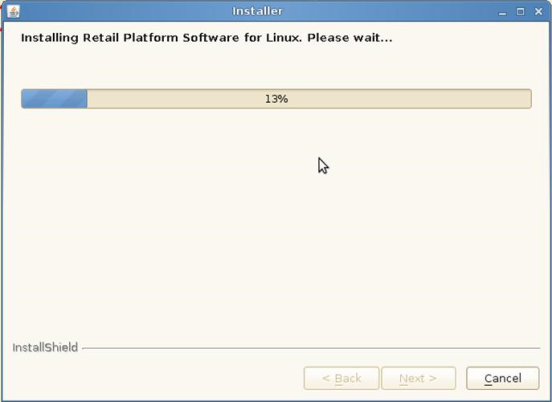
The installation setup begins.
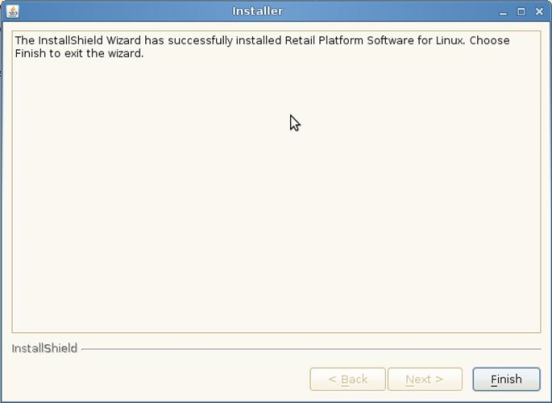
13.Upon successful installation, the application confirms the completion. Select Finish.
Console Mode
1.Open a terminal.
2.Create a new directory by entering the command:
mkdir <destination directory>.
Note: The RPSL is installed at the destination directory. In this example, the directory is named /mnt/iso.
3.Extract the downloaded installer to the new directory by entering the command:
mount –o –loop –t iso9660 D370–0699–0100_REL.2.1.5.6.iso <destination directory>
Note: In this example, D370–0699–0100_REL 2.1.5.6 is the downloaded version. Other versions might be available.
4.Enter cd <destination directory>.

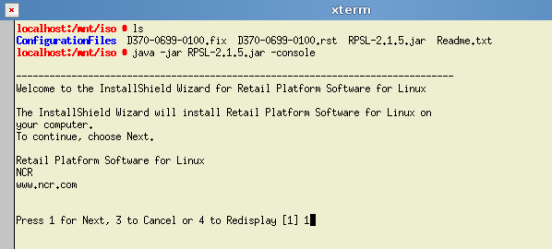
5.Enter the command:
<java directory>/java –jar <path to package>/RPSL–2.1.5.jar –console
Note: In this example, RPSL–2.1.5.jar is the downloaded version. Other versions might be available.
Note: In the <java directory>, specify the directory path of the java binary. Only include this parameter if $JAVA_HOME is not set.
Note: In the <path to package>, specify the directory path of the installer package that you downloaded from the NCR website.

6.The application displays the Welcome message and begins to guide you in the installation process. Press 1.
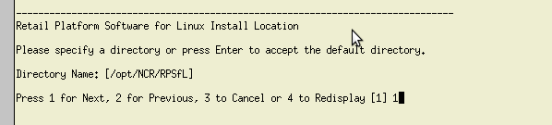
7.Specify the directory where you want to install the RPSL. The default directory is /opt/NCR/RPSfL.
•To accept the default directory, press Enter.
•To specify another destination directory, type the directory.

8.After specifying the destination directory, press 1.
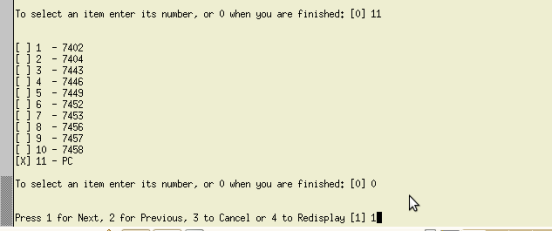
9.Select the terminal class where your 5977 display is connected. Each terminal is assigned a number. From your keyboard, press the number that corresponds to your terminal.
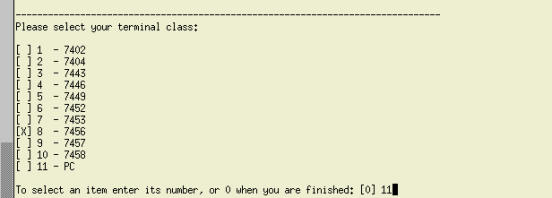
10.After selecting your terminal class, press 0 (zero).
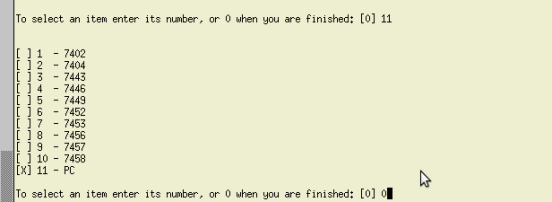
11.Press 1 to continue the installation process.
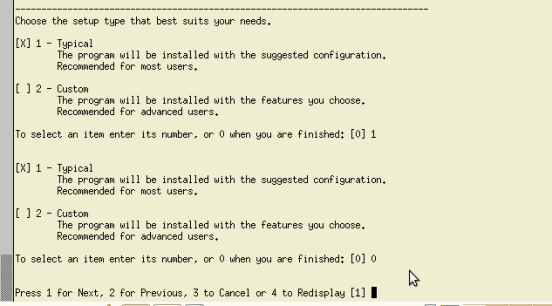
12.Select the installation type that you prefer. Each parameter is assigned a number. From your keyboard, press the number that corresponds to your desired parameter.
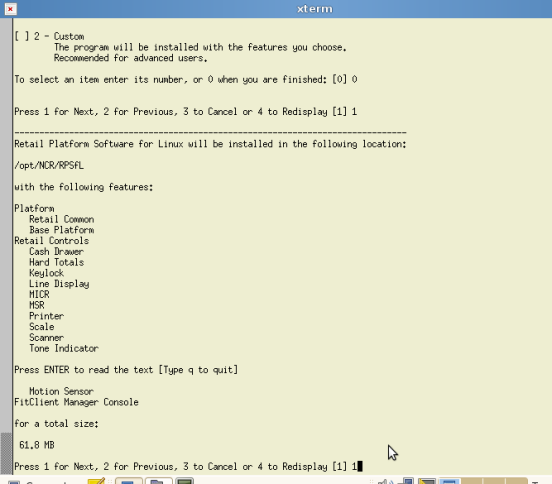
13.The application displays the installation details for you to confirm.

14.After verifying information, press 1 to continue the installation process.
The installation setup begins.

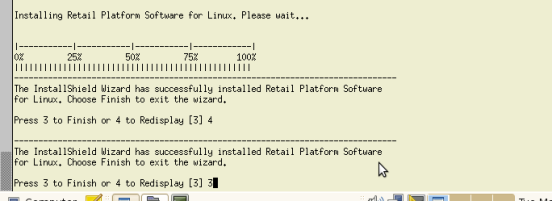
15.Upon successful installation, the application displays the following message. Press 3 to exit program.